How to Wrap a Horse Leg the Right Way
Knowing how to wrap a horse leg is one of those skills that sounds simple until you actually try it. Apply too little pressure and the wrap slips by morning. Apply too much, or unevenly, and you can cause a tendon bow that looks worse than whatever you were treating in the first place. We learned this the hard way, standing in a stall at midnight, trying to remember which direction the tendons run and whether we had put the quilts on tight enough. This guide walks through the whole process, from materials to technique to the mistakes that catch even experienced horse people off guard.
The Riding Life is reader-supported. When you buy through links on our site, we may earn an affiliate commission at no extra cost to you.
Why Proper Leg Wrapping Matters More Than You Think
A horse leg is not a simple cylinder. There are tendons, ligaments, and soft tissue that sit right at the surface, and pressure applied in the wrong place or the wrong way can cause real damage. A wrap that looks fine from across the aisle can create a pressure point at the back of the leg, putting stress directly on the superficial digital flexor tendon. That is not a minor inconvenience. That is a veterinary emergency and potentially months off work.
The stakes are high enough that if you have never wrapped a leg before, or if your technique is shaky, it is worth asking your vet or a knowledgeable barn person to show you hands-on before you need to do it under stress. Reading about it is a start. Watching someone do it is better. Doing it yourself under supervision before there is a real injury is best.
Leg wrapping comes up in a few different situations: standing wraps to reduce or prevent swelling after a hard work, shipping wraps to protect the legs during trailer travel, and post-injury or post-surgery wraps as directed by a vet. The basic mechanics are the same across all of them, but the materials and pressure goals differ slightly. We are going to focus on the standing and shipping wrap because those are the ones you will most likely need to do yourself.
For more context on the kinds of health situations that lead to wrapping, our overview of common horse health issues covers the ailments you will probably encounter in a lesson or boarding barn setting.
What You Need Before You Start Wrapping
Get your materials together before you touch the horse. Do not start with one thing and realize mid-wrap you need something from the other side of the barn. Here is what a standard standing wrap requires:
A quilted cotton leg quilt or pillow wrap, sometimes called an under-wrap. These provide the cushioning layer that distributes pressure evenly. They come in standard sizes and should cover from just below the knee or hock down to the coronet band. Do not skip this layer and go straight to the bandage. The quilt is not optional.
A polo wrap or standing bandage. Polo wraps are stretchy fleece and are what most lesson barns use. Standing bandages are a heavier, less stretchy option often used for shipping or when more structure is needed. For most everyday situations, Professionals Choice Polo Wraps are a reliable and widely used choice that hold well without requiring perfect tension management on every pass.
You may also want Vetrap or a similar cohesive bandage if you are doing a wound wrap under vet direction. 3M Vetrap Bandaging Tape is the standard issue version you will find in nearly every barn first-aid kit. It sticks to itself without adhesive and tears cleanly, which matters when you are working quickly.
For shipping specifically, you can use purpose-built shipping boots instead of wraps, and many people find them easier to apply consistently. But if you are going to wrap, the quilt-plus-bandage method gives you more control and is the foundation skill worth having.
How to Wrap a Horse Leg Step by Step
Start with a clean, dry leg. If the horse has just been worked, let the legs cool before wrapping. Putting a wrap over hot, sweaty tissue traps heat and can make inflammation worse, not better.
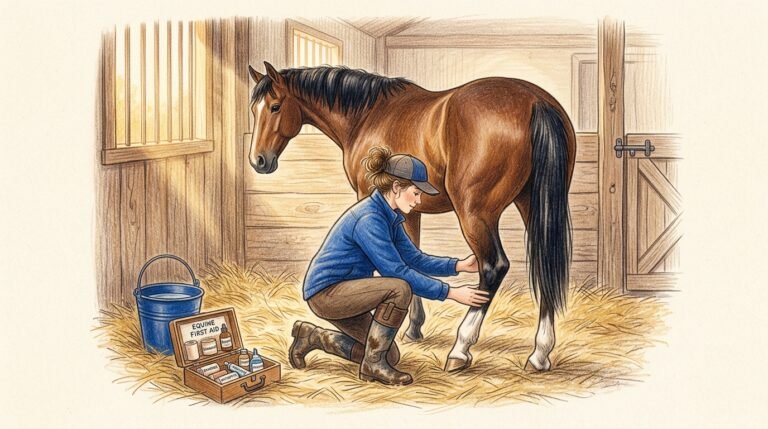
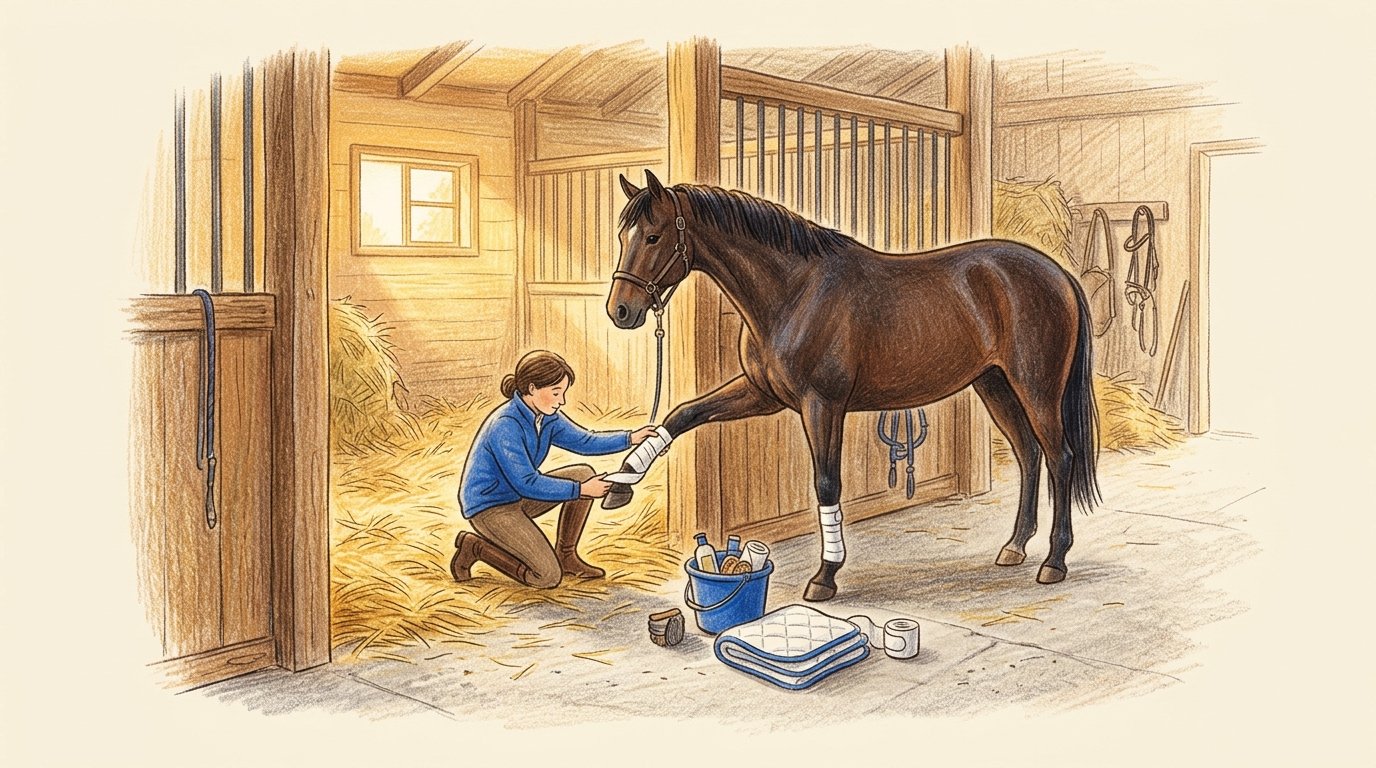
Step one: Position the quilt. Place the quilted wrap around the leg so it starts just below the knee or hock and extends to cover the coronet band. The seam or edge of the quilt should be on the outside of the leg, not directly over the tendons at the back. Smooth it flat. Any wrinkle in the quilt becomes a pressure point under the bandage.
Step two: Start the bandage. Unroll about six inches of your polo wrap or bandage before you begin. Start on the outside of the leg, just below the knee, and make your first pass angled slightly downward. This anchors the beginning of the wrap without creating a fold or an uneven edge right at the top.
Step three: Wrap downward first. Work your way down the leg in overlapping passes, each one covering about half of the previous layer. Keep consistent, even tension throughout. The wrap should feel snug but not tight. If you can slide two fingers under the top edge without force, the pressure is roughly right. If you cannot, it is too tight.
Step four: Come back up. Once you reach the fetlock, wrap around it once or twice to support it, then angle back upward. The goal is a figure-eight pattern around the fetlock, not a hard edge that cuts across the joint on one side only.
Step five: Finish and secure. End the wrap on the outside of the leg, at mid-cannon or just below the knee. Secure the Velcro or tie the strings on the outside, never over the tendon. Press the fastening flat so there are no protruding edges.
Check the wrap again an hour later if possible. Legs swell and shift and what felt right at application can feel different after the horse moves around. A wrap that has slipped or tightened in one spot needs to come off and be redone.
The Mistakes That Actually Cause Damage
The most dangerous error is uneven tension. A wrap applied with perfect pressure on the front of the leg but pulled tight over the back tendons is worse than no wrap at all. Pay attention to how hard you are pulling at each pass and try to keep it consistent all the way around.
The second most common problem is wrapping without a quilt underneath. The bandage alone cannot distribute pressure evenly over the bony prominences and soft tissue of the lower leg. It concentrates it. Always use the quilt.
Leaving a wrap on too long is also a real concern. Standing wraps are generally meant to come off, let the leg breathe, and be reapplied if still needed. If your vet has prescribed a specific wrapping protocol, follow that timeline exactly. If you are wrapping for general post-work support, overnight is usually the limit before the wrap needs to come off in the morning.
Finally, never wrap just one leg when the goal is swelling reduction. Wrapping one front leg puts pressure on the opposite leg as the horse compensates. If you are wrapping for swelling, wrap all four or discuss with your vet which legs need support.
For a broader picture of horse care responsibilities that go alongside things like leg wrapping, the horse care basics guide lays out the daily and weekly tasks that keep a horse healthy and sound.
If you want to go deeper on equine health and injury management, The Horse is a peer-reviewed resource written by veterinary professionals that we have used more than once when something at the barn needed a second opinion from a credible source.
Frequently Asked Questions
How tight should a horse leg wrap be?
Snug but not tight. You should be able to slide two fingers under the top edge of the wrap without forcing them. If the horse is shifting weight, pawing, or the leg looks swollen above or below the wrap an hour after application, take it off and rewrap more loosely.
Can I wrap a horse leg without a quilt underneath?
No. The quilt is what distributes pressure evenly across the structures of the lower leg. Without it, the bandage creates uneven compression that can cause pressure sores, tendon damage, or a wrap bow. It is not a step you can skip.
How long can I leave a standing wrap on?
For general support after work, overnight is a reasonable limit. The wrap should come off in the morning, the leg should be inspected and allowed to breathe, and then rewrapped if needed. If your vet has prescribed a wrapping schedule for an injury, follow their specific instructions rather than a general guideline.
Which direction do I wrap a horse leg?
Always wrap in the direction that pushes the tendons and soft tissue toward the cannon bone, not away from it. For the front legs, this generally means wrapping from inside to outside on the front surface and from outside to inside on the back. Your wrap should never create a fold or drag that pulls the tendons laterally. When in doubt, ask your vet or a knowledgeable horseperson to walk through it with you in person.
Start Simple and Build the Skill Before You Need It
Wrapping a horse leg correctly is one of those barn skills that lives right at the intersection of practical and high-stakes. It is not complicated once you have done it a few times with someone watching and correcting your pressure. But it is not something to figure out for the first time at midnight when a horse is three-legged sore and you are stressed. Practice it now, when nothing is wrong, so that when something is wrong you can do it calmly and correctly.
Get your materials stocked before you need them. Keep a couple of quilts and a set of polo wraps in your grooming kit or trailer. Know where the Vetrap lives. And if you are ever genuinely uncertain about whether to wrap and how, call your vet. That is exactly what they are for.
If this gave you a clearer picture of how to handle leg care, grab our free printable checklist to keep the steps handy in the barn, and head over to the shop for more gear guides and resources built for real horse families doing this alongside you.