Equestrian Helmet Fit Guide: How to Get It Right Every Time
The first piece of gear you buy matters more than any of the rest of it, and this equestrian helmet fit guide exists because most families get it wrong the first time. Not wrong in a casual way — wrong in the way that leaves a helmet sitting a full inch too high on the forehead, or rocking side to side on every posting trot, or so tight the kid pulls it off the second their lesson is over and refuses to wear it again. A helmet that does not fit is not protection. It is a false sense of security with a logo on it. Before you touch a saddle pad, before you order half chaps, the helmet has to be right. Everything else in the gear closet waits until that is sorted.
The Riding Life is reader-supported. When you buy through links on our site, we may earn an affiliate commission at no extra cost to you.
Why Helmet Fit Is the One Thing You Cannot Approximate
Falls happen. They happen to experienced riders, they happen on quiet horses, they happen in arenas at a walk. Anyone who has spent enough time at a barn has watched a horse spook at a plastic bag, a bird, or absolutely nothing. The helmet is not there for the falls you expect. It is there for the ones you never see coming.
The mechanics of a poorly fitted helmet make this plain: a helmet that sits too high exposes the forehead and the temporal area, which are exactly the zones that hit the ground or the fence rail first. A helmet that is too loose rocks on impact instead of absorbing it, which means the foam liner is doing its job relative to the shell instead of relative to your skull. A chin harness that is too loose lets the helmet come off entirely. None of that is a gear preference. It is physics.
From the parent rail, the other thing I have watched is kids tolerating a bad fit because they do not know what a good fit feels like. They have never had one. So they shrug and go ride. It is on us — barn parents, instructors, the person at the tack shop counter — to know what we are looking for and check it properly before anyone gets on a horse.
How to Measure for an Equestrian Helmet Correctly
Start with a fabric measuring tape, not a ruler and not your hand. Wrap it around the head about one inch above the eyebrows, level all the way around, covering the widest part of the skull above the ears. Write that number down in centimeters. Most helmets size in centimeters, and most heads are somewhere between 52 and 62 cm for adults, smaller for kids. If the number falls between sizes, go up, not down — a helmet with a dial fit system can be dialed in; a helmet that is too small cannot be forced onto a head without discomfort, and it will be worn incorrectly every single time.
Head shape matters almost as much as circumference. Equestrian helmets generally come in oval and round profiles. If a helmet feels tight at the temples but loose front-to-back, the fit profile is wrong for that skull, and no amount of padding inserts will fully fix it. Try a different brand before you buy.
The low-oval versus intermediate-oval distinction is real, and brands differ. Our beginner helmet guide breaks down which brands run narrow versus wide, and that is worth reading before you walk into a tack shop. Going in knowing your shape saves a lot of time and a lot of frustrating try-ons.
The Equestrian Helmet Fit Checklist: Five Points to Check Before You Buy
Once a helmet is on the head, run through these five checks. Every single one needs to pass.
One: The two-finger rule at the brow. Place two fingers horizontally above the eyebrows. The brim of the helmet should sit right at the top of those fingers — roughly one to two finger-widths above the brows. Higher than that and the forehead is exposed. Lower and the rider cannot see the jump or the arena fence without tilting their head back.
Two: The rock test. Hold the helmet at the brim, front and back, and try to rock it forward and backward. There should be minimal movement. A properly fitted helmet will feel like it is part of the head. If it rocks more than about an inch in either direction, it is too big or the wrong shape.
Three: The side-to-side test. Same idea, different axis. Hold both sides and try to tilt it ear to ear. Again — minimal movement. Significant wobble means the helmet is not sitting correctly on the skull and will not perform correctly in a fall.
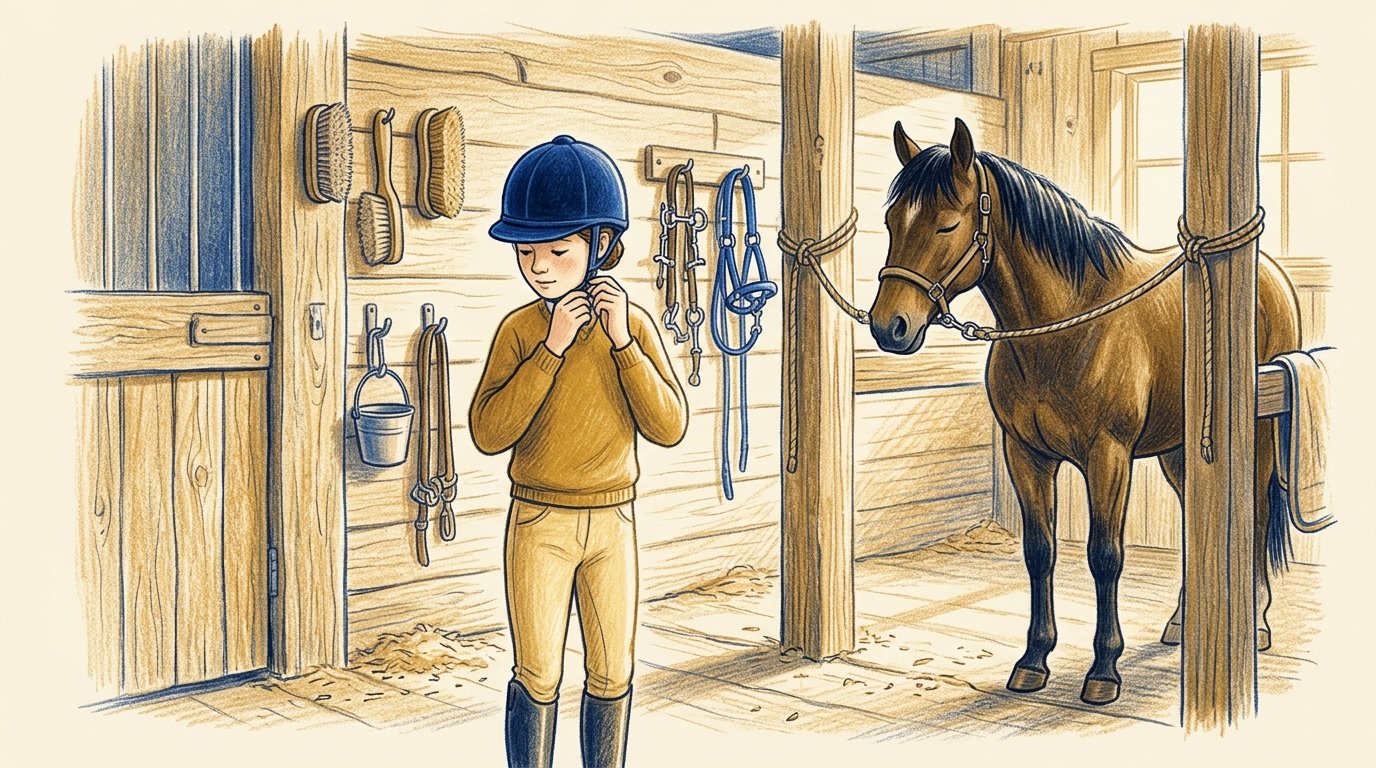
Four: The chin harness. When buckled, you should be able to fit one finger — not two, not a fist, one finger — under the harness below the chin. The harness should form a V under each ear, meeting below the earlobe. A loose harness is almost as dangerous as a loose helmet; in a fall, the helmet can rotate or come off entirely.
Five: The comfort test. Wear the helmet for five minutes without adjusting it. If there is a pressure point — a spot on the forehead, the back of the skull, one temple — that is not going away, the fit is wrong. A correctly fitted helmet applies even pressure all the way around. It feels snug, not painful. A rider who is uncomfortable will not wear the helmet correctly, and a helmet worn incorrectly might as well not be there at all.
Which Helmets Are Actually Worth Buying in 2026
Fit comes first and brand comes second, but some brands make getting to a good fit easier than others, and some have safety certifications that others lack. Here is what we have seen on heads at our barn over the years, and what holds up.
For beginners and younger riders, the Ovation Deluxe Schooler is a solid, honest entry point. It meets ASTM/SEI standards, it has a dial-fit system that makes it genuinely adjustable as a kid’s head grows, and it does not cost so much that you feel sick when it gets sat on in the tack room. We have seen these on lesson kids for years. They do their job.
The Troxel Spirit is another name that comes up constantly in hunter and trail-riding circles. It runs a little more oval in profile, the ventilation is decent, and the price sits in a range where most families are not choosing between the helmet and something else in the budget. Troxel also offers a dial system on many of their styles, which matters if your rider is between sizes.
Once a rider moves into showing and wants something they can wear in the ring, the Charles Owen AYR8 is worth the price jump. Charles Owen builds to BETA 2018 and ASTM standards, runs slightly round in profile, and fits a wider range of heads than many comparable helmets at the same level. They are not cheap. They are also helmets we have seen absorb bad falls and do exactly what they are supposed to do.
For riders who need a helmet that meets the stricter MIPS safety standard and want something ventilated for warm-weather riding, the Tipperary Sportage is worth looking at. The oval profile works well for riders who have struggled to fit Charles Owen helmets, and the ventilation is noticeably better than most helmets in its range. We have seen this one on trail riders and arena riders alike, and the feedback is consistently positive on fit comfort over long rides.
For safety certification details and what the ratings actually mean, USEF maintains current rules on helmet standards required for competition, which is worth checking before a show purchase.
When to Replace an Equestrian Helmet
This is the part nobody wants to hear. Replace the helmet after any fall where the head makes contact with the ground, the fence, the horse, or any hard surface — even if the helmet looks fine. The foam liner inside an equestrian helmet is designed to compress in a single impact and protect the skull in that moment. After that compression, it has done its job, and it is done. The helmet will look the same from the outside. It will not perform the same in the next fall.
Beyond falls, replace the helmet every five years at minimum, even if no falls have happened. The materials degrade with UV exposure, sweat, and general wear. The harness webbing weakens. The shell becomes more brittle. Five years is not an arbitrary number — it is the industry standard based on material testing, and Practical Horseman has covered this in detail if you want to go deeper on the science.
Also replace it if it has been sat on, dropped hard onto a concrete aisle, or stored somewhere it got crushed. Any compression event — not just a fall — can compromise the liner. When in doubt, replace it. The cost of a new helmet is a fraction of what you are protecting.
For riders stepping up their gear in order, the progression we always recommend is helmet first, then proper boots, then half chaps, then the rest. Do not flip that order.
Frequently Asked Questions
How do I know if my equestrian helmet fits correctly?
Run the five-point check: two fingers above the eyebrows, minimal rock front-to-back and side-to-side, one finger under the chin harness, harness forming a V under each ear, and even pressure all the way around with no pain points after five minutes of wear. All five need to pass. If any one of them fails, the helmet does not fit correctly.
Can I buy an equestrian helmet online without trying it on first?
You can, but measure first and know your head shape — oval or round. Read the brand fit notes carefully; many brands publish which profile their helmets are built for. Order from somewhere with a return policy, try it on as soon as it arrives, and run the full fit check before you ride in it. If it does not pass the check, return it and try a different brand or size. Do not ride in a helmet you have not properly checked.
Does a more expensive helmet mean better protection?
Not automatically. A helmet that fits correctly and meets current ASTM/SEI certification is protecting the skull. Price often reflects additional certifications like MIPS or BETA ratings, better ventilation, lighter materials, and more refined construction — all of which matter for comfort and long rides — but a mid-range helmet that fits correctly will outperform an expensive helmet that does not fit. Start with the fit. Then look at certifications. Then consider price.
How often should a child’s helmet be replaced?
Any time the head has grown enough that the fit no longer passes the check — which can happen faster than you expect in younger kids. Also after any fall with head contact, and at the five-year mark regardless. Check the fit at the start of every season. It takes five minutes and it matters.
The Bottom Line on Helmet Fit
A helmet is the one piece of gear where there is no acceptable version of close enough. Everything else in the tack room — the saddle pad, the boots, the half chaps — those you can fuss with and adjust and make work. The helmet either fits or it does not, and if it does not, the rider is not protected. That is not a drama. It is just physics and foam liner and the reality of what horses are.
We have been through multiple helmets over the years. We have replaced them after falls. We have replaced them when heads outgrew them. We have stood in tack shop aisles running the rock test and the brow check until we found the one that passed. It is the right amount of fuss to make. Nothing at this barn happens before the helmet check.
If you want a printable version of the five-point fit checklist to keep in your tack trunk or send with a younger rider, grab our free printable checklist. And if you are building out the rest of the gear kit, browse the shop — everything we recommend there is something we have actually used or watched be used at the barn, and none of it is there to fill a page.