How to Post Trot Without Losing Your Mind or Your Rhythm
If there is one skill that separates a brand-new rider from someone who looks like they belong in the saddle, it is learning how to post trot. It sounds simple from the rail. Rise and fall with the leg on the wall, every instructor says it. But when you are the one sitting on a moving horse, trying to find that rhythm while also steering and breathing and not grabbing the mane, simple is not the word that comes to mind. The posting trot is the foundational skill of English riding, and it takes real repetition to feel natural. Here is what actually helps.
The Riding Life is reader-supported. When you buy through links on our site, we may earn an affiliate commission at no extra cost to you.
What the Posting Trot Actually Is and Why It Matters
The trot is a two-beat diagonal gait. The horse moves its legs in pairs, right front with left hind, then left front with right hind. That movement creates a bounce. Sitting that bounce on every stride for more than a few minutes is hard on your body and frankly hard on the horse’s back too. Posting, which means rising out of the saddle on one beat and sitting on the next, absorbs that bounce and lets both horse and rider move together without bracing against each other.
This is not just about comfort. A rider who posts well is lighter in the saddle, more balanced, and more effective with their aids. A rider who is still fighting the trot is spending all their energy just staying on. You cannot feel the horse, you cannot steer with precision, and you definitely cannot think about diagonals, which we will get to in a moment.
From a parent-chair perspective, the posting trot is usually the first real hurdle a new rider hits. The canter looks more dramatic, but the trot is where the work happens. It is the gait most used in flat work, in warm-up, in dressage, and in hunter courses. Getting comfortable here is not optional. It is the whole foundation.
How to Post Trot Step by Step
Start at the halt or a slow walk. Before the horse moves into a trot, get your base position sorted. Heels down, weight in your stirrups, shoulders back but not braced, hands low and quiet. If your position is collapsing at the walk, it will fall apart completely at the trot.
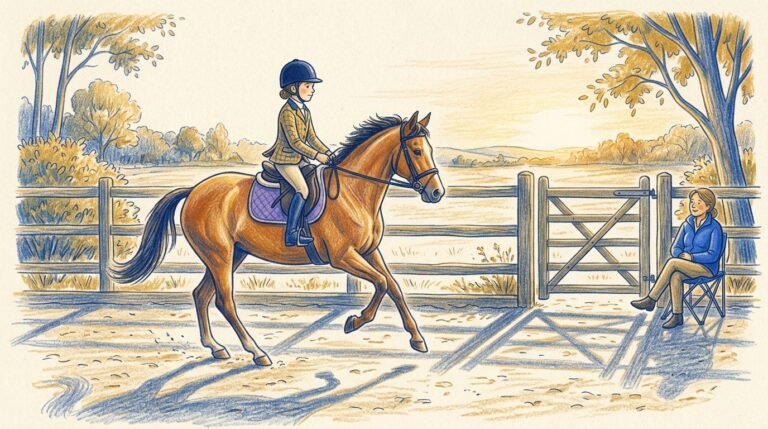
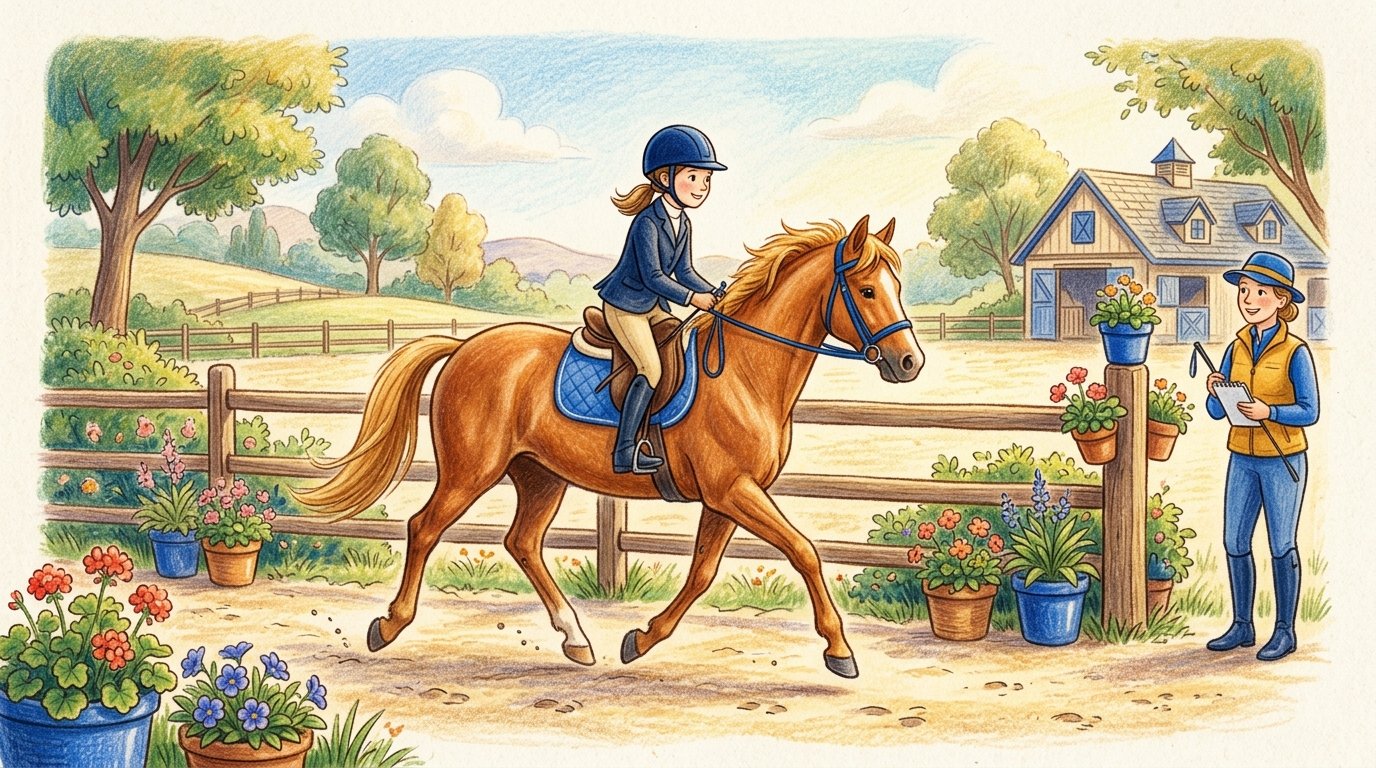
When the trot starts, resist the urge to grip with your knee and push yourself up. That is the most common beginner mistake. The horse is doing the pushing. Your job is to follow the motion, not fight it. Let the horse’s movement lift you out of the saddle on one beat. Then softly sit on the next. Up, down, up, down. You are not standing up in the stirrups, you are just following the energy forward and up.
Think about your hips moving forward toward the horse’s ears as you rise, not straight up. This keeps you from tipping back or getting left behind the motion. Your hip angle closes slightly as you rise and opens as you sit. If it helps, think about pushing your belt buckle toward the horse’s neck each time you post.
Hands matter here too. Post with your whole core, not with your hands. If your reins are shortening every time you rise, you are using your hands for balance. That is hard on the horse’s mouth and will cost you later when you are trying to develop feel. Focus on keeping a soft, consistent contact. Your hands follow the horse’s mouth. They do not come up with your post.
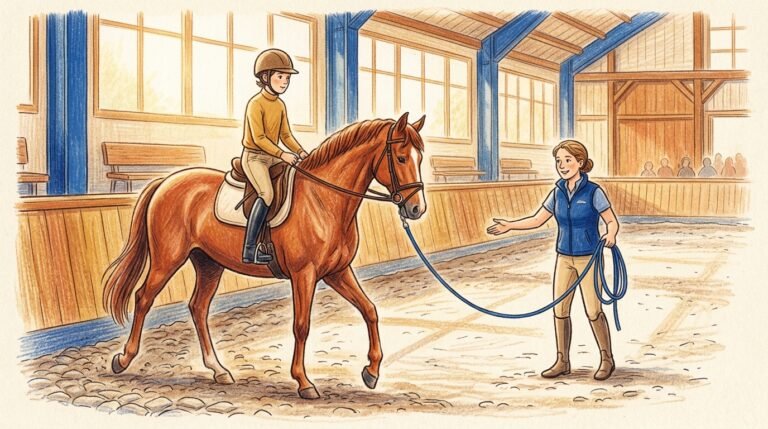
Building time in the trot is how this gets easier. Not thinking about it harder. Not watching videos. Time in the saddle. If your rider is in weekly lessons, this is most of what is happening in those early months whether it looks exciting or not. If you want to understand what structured lesson time actually costs and what you get for it, this breakdown on how much horseback riding lessons cost is worth reading before the next barn conversation.
Understanding Diagonals When You Post Trot
Once the basic up-down rhythm starts to feel automatic, the next layer is diagonals. This is where riders either get it quickly or spend several lessons looking confused and frustrated. Both are normal.
Because the trot is diagonal pairs, you are either rising with the right shoulder and sitting when the left shoulder moves, or the opposite. On a circle or a track, correct diagonal means you rise as the outside foreleg moves forward. In most cases in an arena, that is the left rein, so you post with the right diagonal, rising as the right fore and left hind come forward.
How do you know which diagonal you are on without looking down every thirty seconds? You feel it. Eventually. In the beginning, a quick glance at the outside shoulder is completely acceptable. If the outside shoulder is coming back toward you as you sit, you are on the correct diagonal. If it is going forward as you sit, switch. Sit one extra beat, then post again. That is the correction.
It is one of those things that sounds impossibly complicated before it clicks and then feels obvious. The body learns it before the brain does. Trust the repetition.
What Makes Posting Harder and How to Fix It
Tight hips are the biggest physical barrier for adult beginner riders. If you do not have the hip flexibility to follow the motion, you will brace. That bracing makes you bounce, which makes you grip, which makes you bounce harder. It is a cycle. Stretching off the horse, specifically hip flexors and inner thighs, makes a real difference if you work on it consistently between lessons.
Stirrup length matters too. Stirrups that are too long force you to reach for them and lose your base. Too short and you are perched and tipping forward. A rough starting guide for an English flat lesson is to let your leg hang and adjust so the stirrup iron hits your ankle bone. Your trainer will fine-tune from there.
Footwear and leg position go together. A proper heel and sole on a riding boot give your foot a safe, stable position in the stirrup. Tennis shoes do not have a heel and can slip through, which is a real safety issue before it is even a position issue. If you are still figuring out what to wear and what to spend money on first, the gear article on what to wear to your first riding lesson walks through the priority order honestly.
Half-chaps paired with paddock boots give a beginner the grip and ankle support to stay in position without spending money on tall boots right away. If you are still sorting out what half-chaps actually do and whether they are worth it, read how to choose half-chaps before you buy anything.
Building the Posting Trot Over Time
The posting trot does not plateau at learn it and move on. It keeps developing. Early on you are just surviving it. A few months in you are posting with some rhythm. A year in you are starting to post in half-seat over ground poles. Eventually you are posting through a course warm-up with your hands still and your leg quiet, and it feels like nothing because your body just does it.
That arc takes time and it takes a consistent horse. Lesson horses that are predictable and forgiving are worth their weight in something considerably more expensive than hay. For riders who are past the beginner stage and riding more regularly, leasing can give access to that consistency in a horse that is a better match, without the full financial commitment of ownership. The comparison between leasing a horse versus buying is useful reading for any family starting to have that conversation.
The American Horse Shows Association and USHJA both recognize equitation classes that judge position and aids at the trot, which gives you a sense of how foundational and formally evaluated this skill is. The USHJA has resources if you are curious about how the skill ladder maps to recognized competition levels.
Frequently Asked Questions
How long does it take to learn how to post trot?
Most riders start finding the rhythm within three to six weeks of consistent weekly lessons, though it varies. Finding the rhythm is not the same as posting well. A comfortable, balanced posting trot with correct diagonals can take several months of regular work. There is no shortcut, only saddle time.
Should you post trot on both diagonals for training purposes?
Yes, and this matters more than beginners are usually told. Switching diagonals deliberately during a ride, or posting on the quote wrong diagonal on a straight line, helps develop the horse’s muscles evenly. Most pleasure riding tends to default to one diagonal without thinking. Being intentional about switching is good horsemanship.
Why does posting trot feel easier on some horses than others?
Trot rhythm and stride length vary enormously by horse. A horse with a big, floaty trot is actually harder to post for a beginner because the motion is more pronounced. A short-strided, steady horse gives a beginner more time to find the rhythm. This is one reason lesson horse selection matters so much in the early stages.
Can you hurt a horse by posting incorrectly?
A beginner who is bouncing and gripping is not comfortable for the horse, but a sound horse in a lesson program is generally not going to be injured by early posting struggles. The bigger concern is the rider developing bad habits, like relying on the reins for balance, that are harder to fix later. Correct position protects both horse and rider over time.
The Work Is in the Rhythm
Learning how to post trot is not a glamorous milestone. Nobody posts around a course and gets a ribbon just for posting. But everything that does get the ribbon is built on top of it. The balance, the feel, the quietness in the aids, it all starts here in those early arena laps where you are just trying to move with the horse instead of against it.
If you are watching your kid figure this out from the rail, it looks repetitive because it is repetitive. That is the work. And one day you will watch them trot a whole course without thinking about it once, and you will remember the week they finally stopped bouncing, and that will mean something.
Grab our free printable checklist to track your rider’s skill milestones, and head over to the shop for gear recommendations that actually make sense at each stage of the journey.